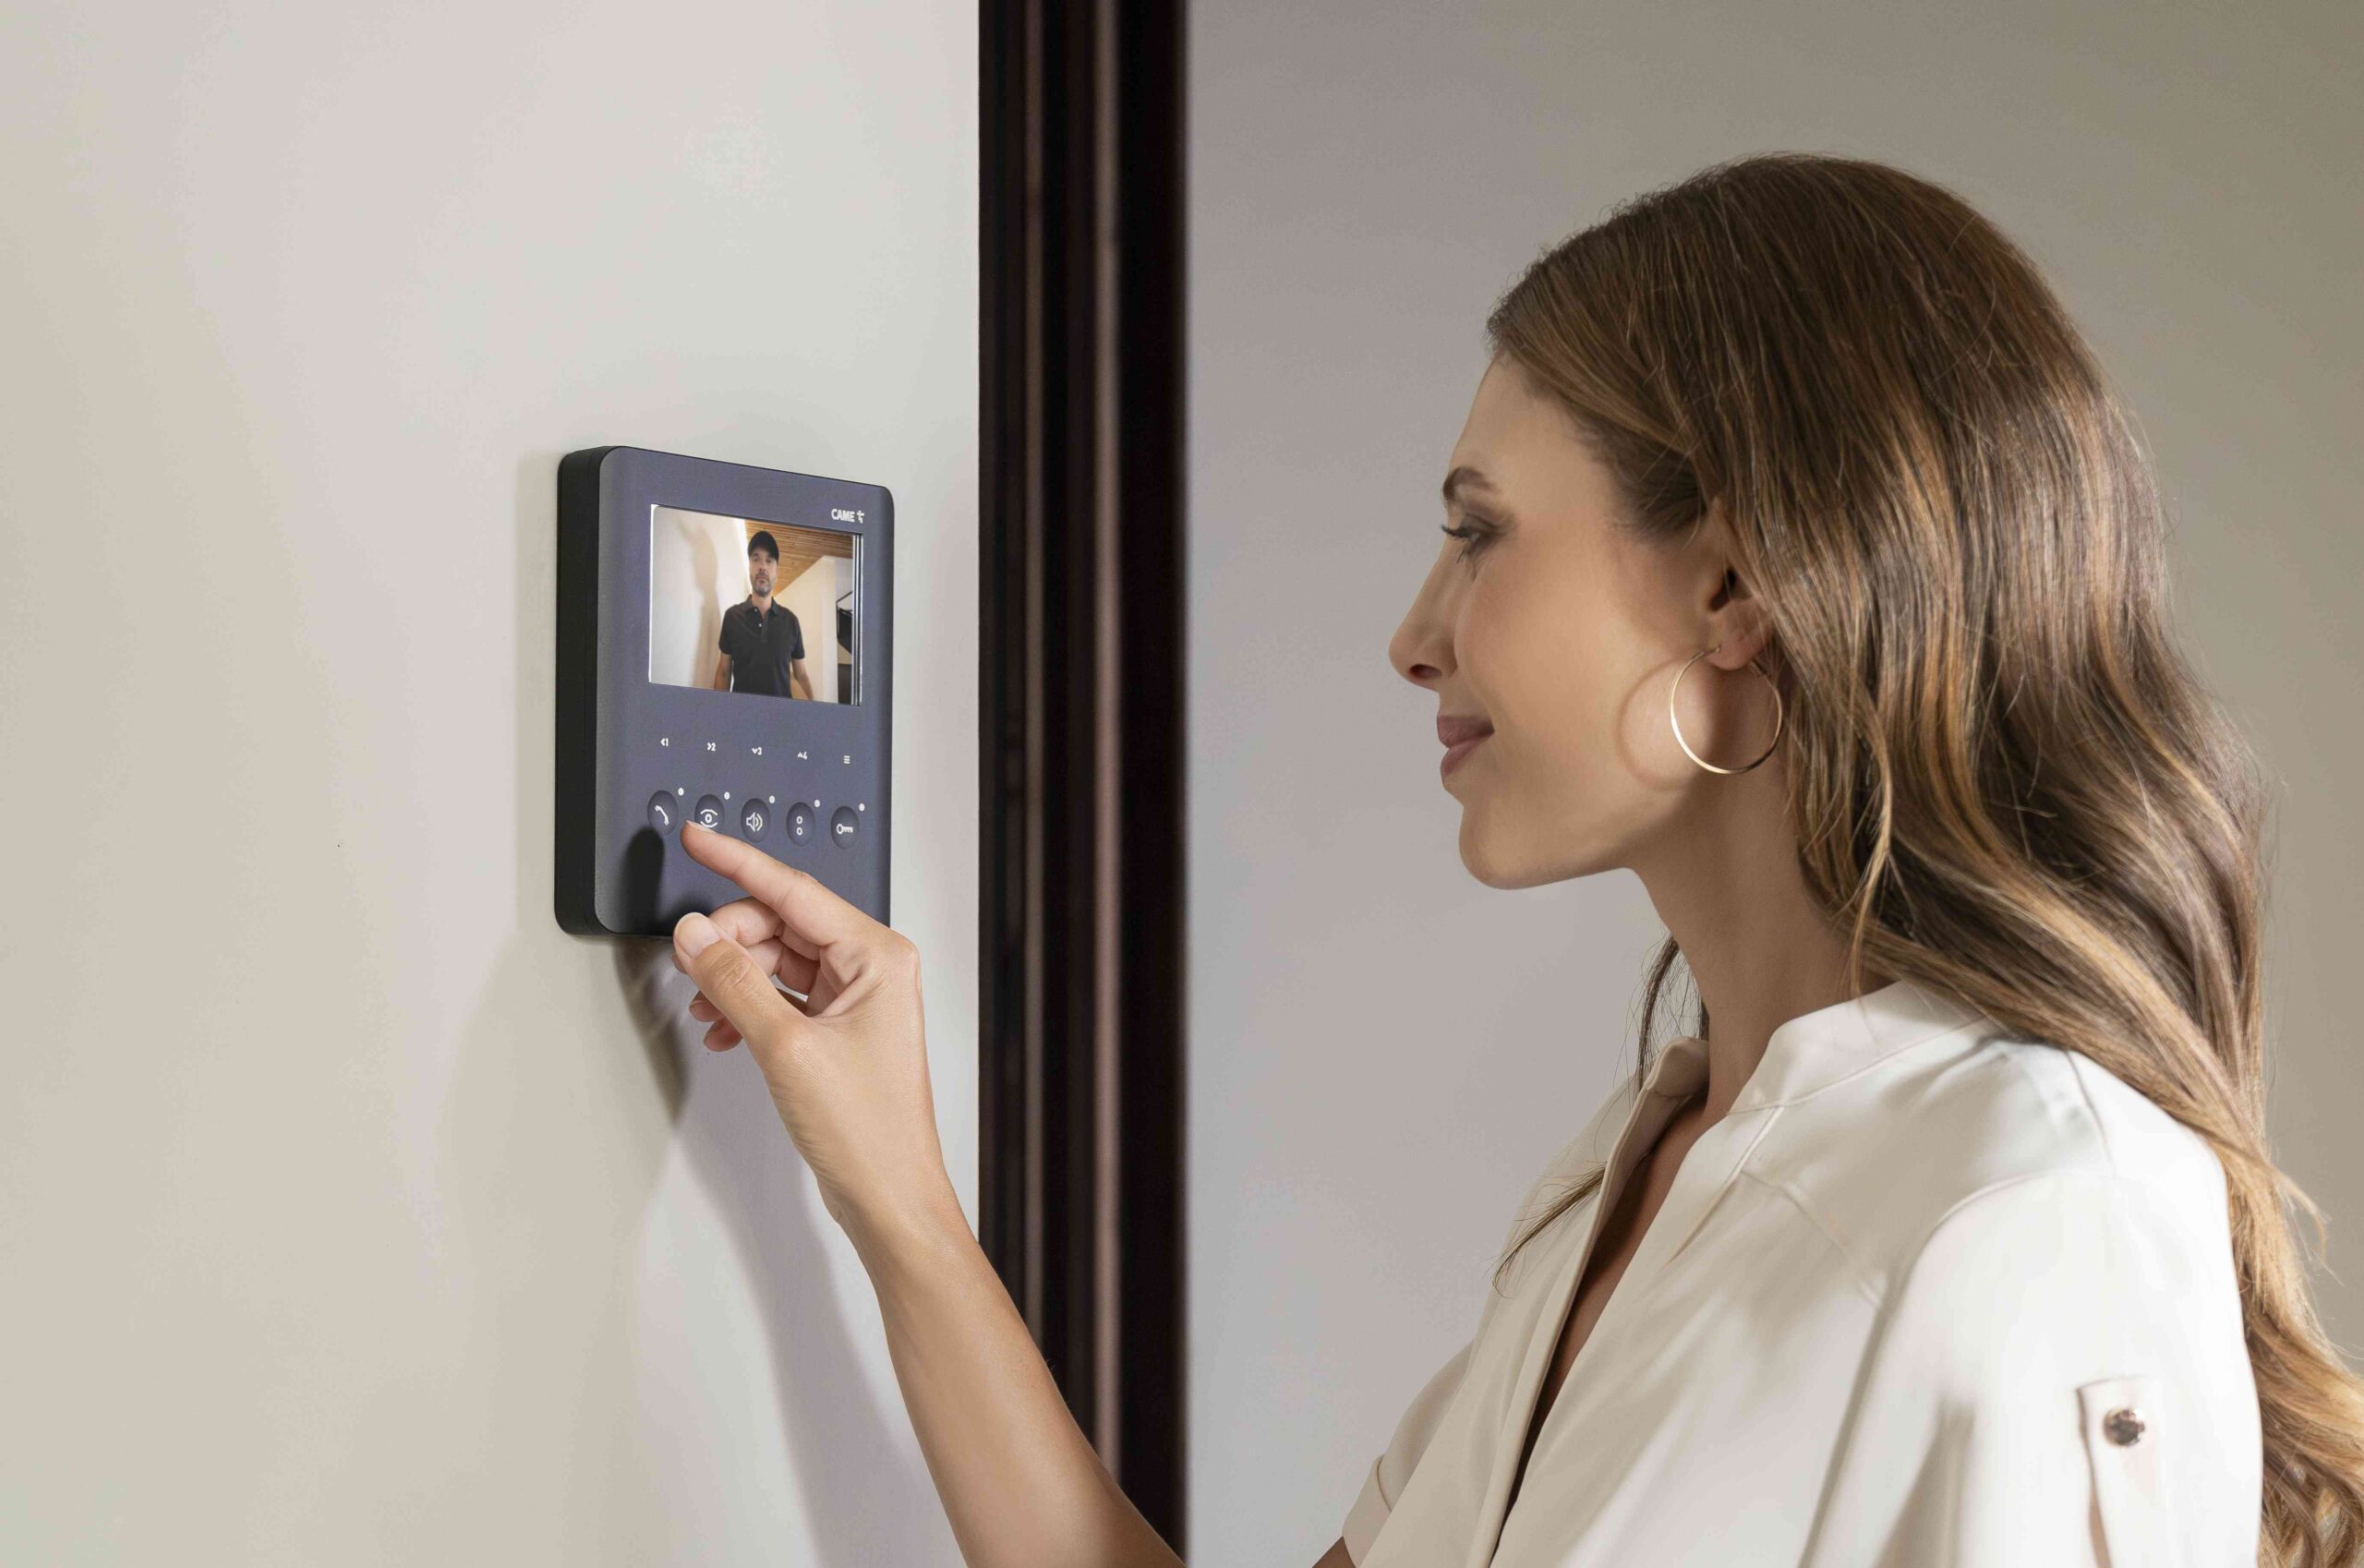
Replacing an old intercom with a video intercom is an increasingly common request. What customers want is greater security, more convenience and, more and more often, a system that integrates with the rest of their connected home.
For installers, however, the first thing to establish is whether the existing system can be reused. Before replacing the intercom, the installer checks the system and wiring, assesses its condition, and works out which solution delivers the desired result without making the job more invasive than necessary.
In this article, we’ll look at three common scenarios:
- When the system is already compatible with the new video intercom
- When the system needs upgrading
- When the context calls for an IP-based solution
In apartment buildings, all three scenarios still apply — but alongside the technical checks, you’ll also need to consider the building’s communal parts and any authorisations that may be required.
Intercom vs video intercom: which differences actually matter?
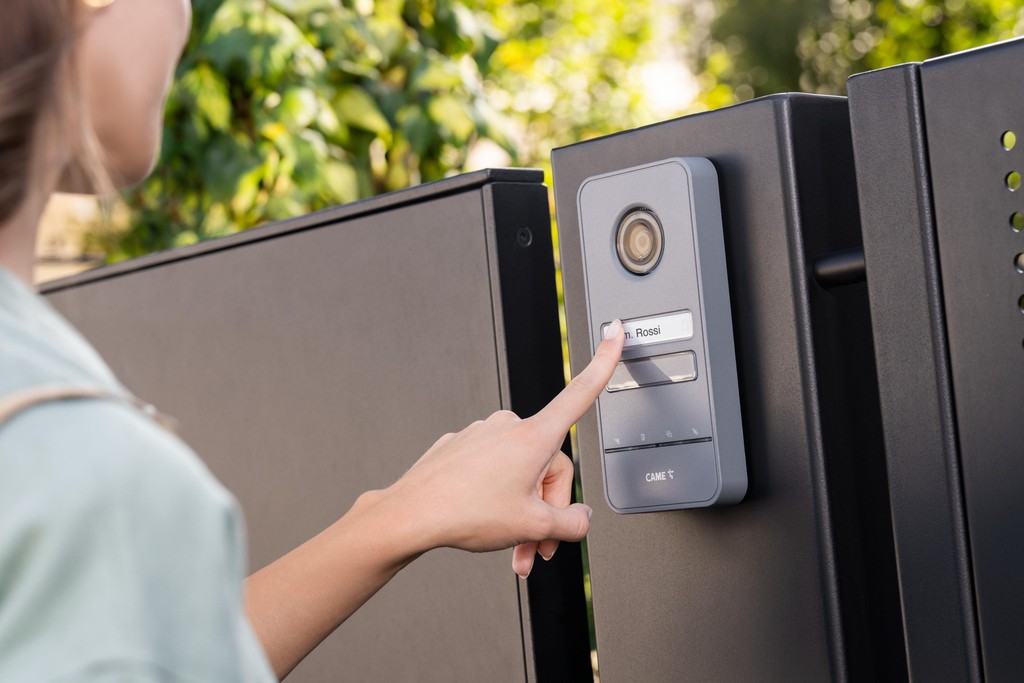
If you’re an installer, you know that replacing an old intercom isn’t just a matter of choosing the new device — you also need to understand the infrastructure you’ll be working with.
A preliminary check of the system and outdoor entry panel, together with a check of the wiring, lets us quickly identify compatible solutions, estimate how complex the job will be, and steer the customer towards the most suitable video intercoms.
Let’s look at the three main scenarios you’re likely to come across:
2-wire systems with CAME technology
This is a very common configuration in residential settings. To recognise it, check the line connecting the CAME intercom’s outdoor entry panel to the indoor unit: you’ll find two conductors, generally unpolarised.
In many cases, the existing wiring can also be used to install a CAME video intercom, avoiding the need to lay new cables and reducing the time and complexity of the job.
However, having two wires isn’t enough on its own to proceed: before replacing the system, we also need to check the condition of the cable, in particular its cross-section and the state of its insulation. Reusing the existing wiring is only an advantage when it’s still suitable for the new system.
No dedicated wiring, or wiring that can’t be worked on
We can’t always work on the existing cabling: this can happen in an older building, a rented property, or an apartment building where the communal system can’t be modified.
The same applies when the wiring is deteriorated or hard to access: in these cases, we can consider an IP-based solution, with more advanced features.
If the aim is a solution that makes the most of connectivity — for example, using the app to answer calls — it’s essential to check network coverage at the point where the connected video intercoms will be installed. Connection quality matters here just as much as cable condition does in a traditional system.
How to replace an intercom with a video intercom: the process
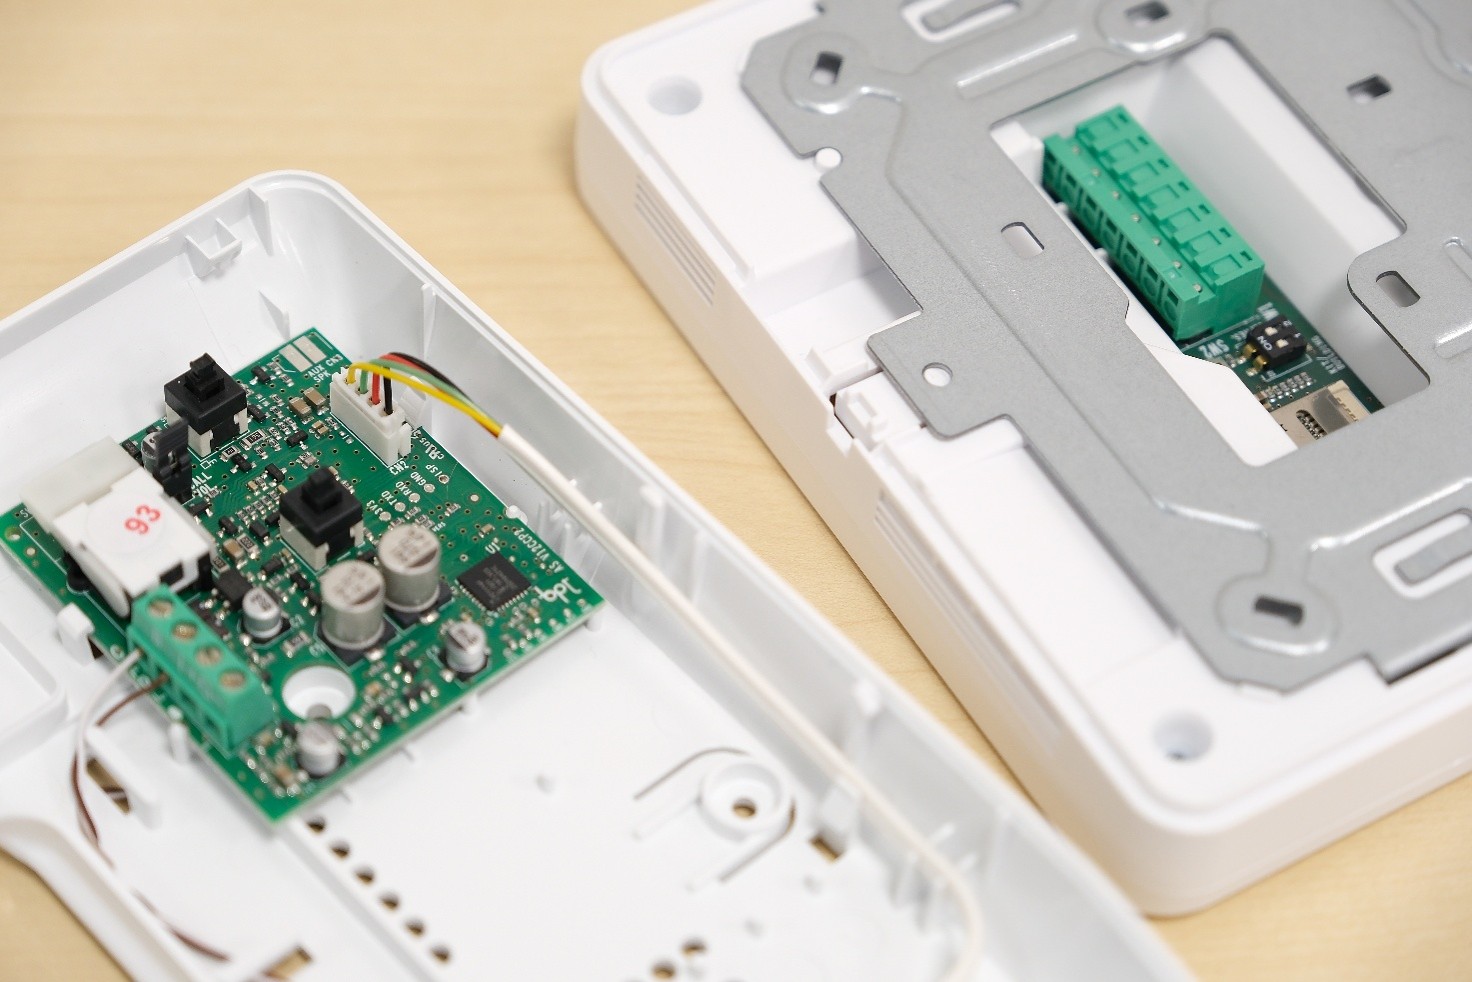
So, in practical terms, how do you replace an intercom with a video intercom? The process starts with checking the existing system. Once compatibility has been confirmed, we can remove the old system, install the new outdoor entry panel, connect the indoor unit, configure the video intercom and test all its functions.
If the system is connected, the process also includes setting up the network and any digital services included.
Let’s look at the main steps.
1. Disconnecting and removing the existing system
Before starting work, we make the electrical system safe and review the existing connections. One simple but useful step is to document the wiring before disconnecting it: photographing the terminals and identifying the conductors gives us a reference point for installing the new system.
If the wiring is compatible and in good condition, we try to preserve it. Avoiding building work or laying new cables means shorter installation times and, above all, no unnecessary costs for the customer.
2. Installing the outdoor entry panel
Once the infrastructure has been checked, we can move on to the outdoor entry panel.
Its position needs to take into account both everyday use and the characteristics of the surroundings. The usual reference point is the centre of the camera, which should be positioned 165 cm from the ground.
We also need to assess exposure to the weather and choose a device with a protection rating suited to the installation location: in any case, accessories such as a rain hood can help protect installations that are particularly exposed to the elements.
It’s important to check the mounting method, which depends on the context. A flush-mounted solution can blend in better with the existing structure, while surface mounting can simplify the job when we want to limit work on the wall.
In this respect, CAME video intercom outdoor entry panels can meet a range of installation needs and architectural contexts.
3. Connecting and configuring the indoor unit
So, how do you connect a video intercom? If the existing wiring has been checked and is compatible with the new system, we connect the indoor unit to the relevant terminals and carry out the initial power-up.
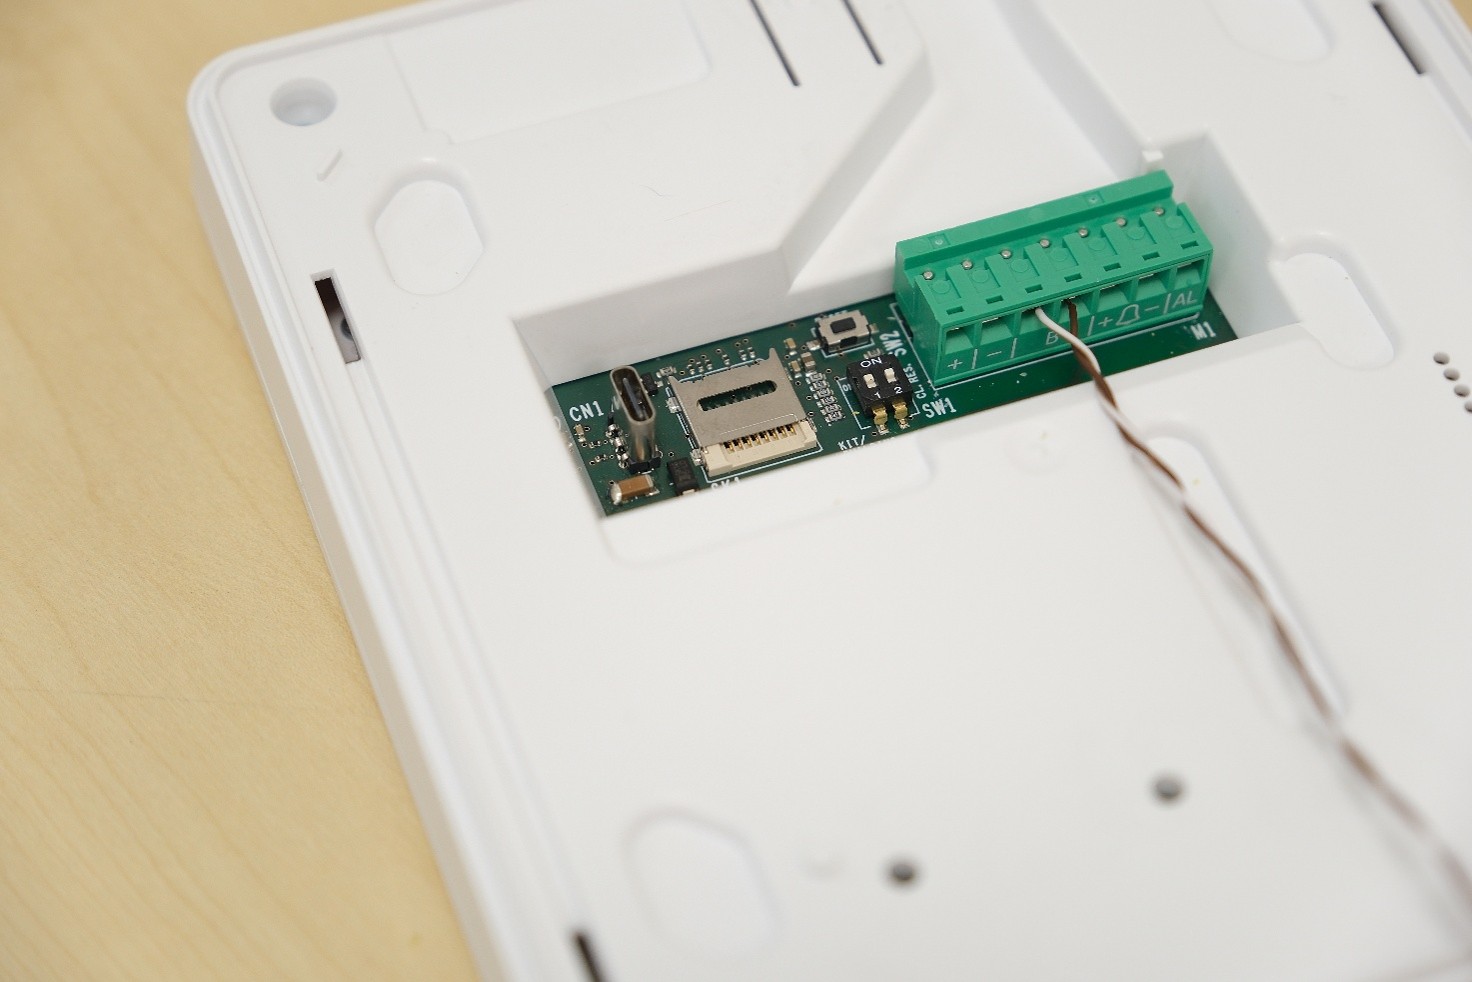
At this point, we set up the call function and check that the video signal and audio communication are working correctly.
For connected solutions, such as PLX Wi-Fi and XTS 7 WIFI, we also need to set up the connection to the home network and the services provided through the CAME App.
Final testing is just as important as installation. We check video quality, two-way audio, response times, and the opening of the electric lock or gate.
The range of CAME video intercom indoor units, for example, makes it possible to choose the solution best suited to the system and the customer’s needs.
4. Integration with automation and CAME Connect systems
Replacing the intercom can also be an opportunity to simplify access management. If the home already has a CAME gate or door automation system and compatible devices, we can consider integrating it via CAME Connect.
For the installer, this means being able to work within an integrated technology ecosystem, with CAME products, services and support. For the customer, it means a simpler day-to-day experience managing access and connected devices.
Where an existing system is in place, replacing the video intercom can therefore be the right moment to also check the condition of the gate motors and discuss possible integration options with the customer.
Replacing the intercom in an apartment building: regulatory factors to manage with the customer
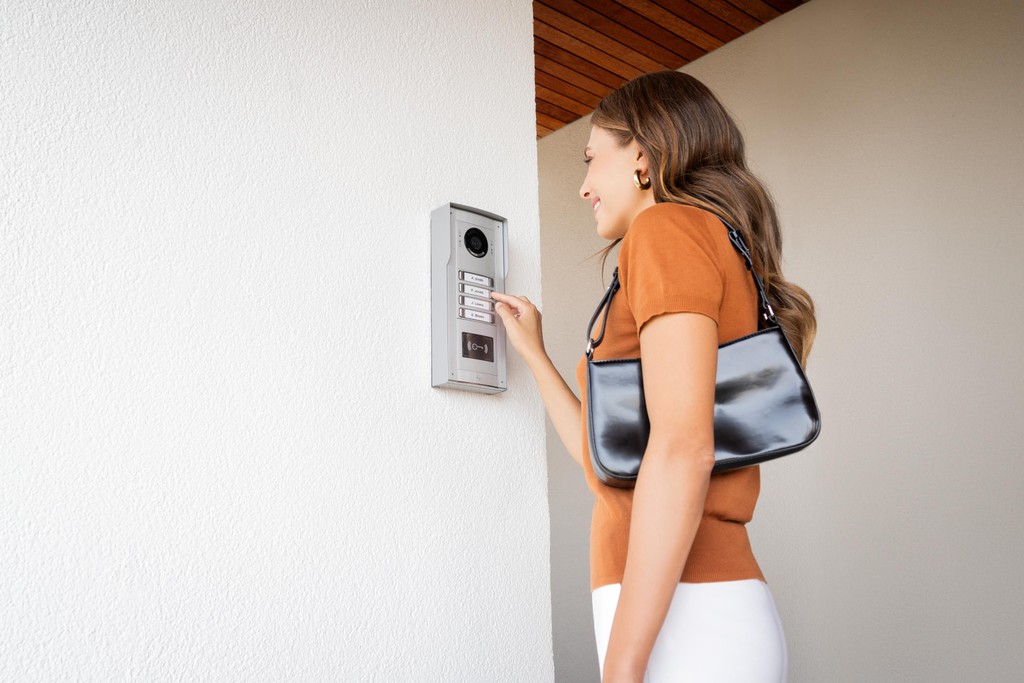
How do you replace an intercom with a video intercom in an apartment building? Before starting work, we need to establish which components belong to the communal system and which serve a single flat. If the replacement involves communal parts, it’s necessary to coordinate with the facility manager and check whether any authorisations are required.
From a practical standpoint, this distinction is essential.
The building’s outdoor entry panel and part of the wiring infrastructure are normally communal elements. The device inside the home, on the other hand, serves the individual property.
This doesn’t mean, however, that any indoor unit can be freely replaced with any video intercom: before replacing the intercom, we still need to check its compatibility with the existing communal system.
If the job instead involves the outdoor entry panel or requires changes to the communal infrastructure, we need to direct the customer to the facility manager, who can confirm the authorisation process required and whether the matter needs to go before a residents’ aprovement.
When the communal system can’t be modified, we can discuss a standalone solution with the customer, depending on the characteristics of the building and installation.
The CAME video intercom range: solutions for every replacement scenario
Every intercom replacement is a different case. A 2-wire system still in good condition calls for a different approach than an old, incompatible system, or a building where the wiring can’t be touched.
That’s why we always start from the existing system and the needs of the people who’ll be using it.
With the CAME video intercom range, it’s possible to meet a variety of needs, from small residential settings to more complex systems, choosing solutions designed to simplify installation, configuration and management.
To find out more about products, tools, documentation and services for installers, you can access the dedicated portal for professionals.